Christmas roast duck is the centerpiece of choice across Central Europe, from the Czech pecena kachna to Polish kaczka pieczona, where it outranks turkey as the festive main every December. The appeal is practical as much as traditional: duck self-bastes as it cooks, the thick layer of fat rendering slowly into the pan and leaving the meat moist even if you get the timing slightly wrong. Done right, the skin shatters when you slice through it.
The key difference between a disappointing roast duck and a great one is fat management. Duck has significantly more fat than chicken or turkey, and that fat needs somewhere to go during a long roast. Score the skin, start the bird breast-side down, and drain the pan at least once mid-cook. Skip any of those steps and you end up with flabby skin sitting in a pool of grease.
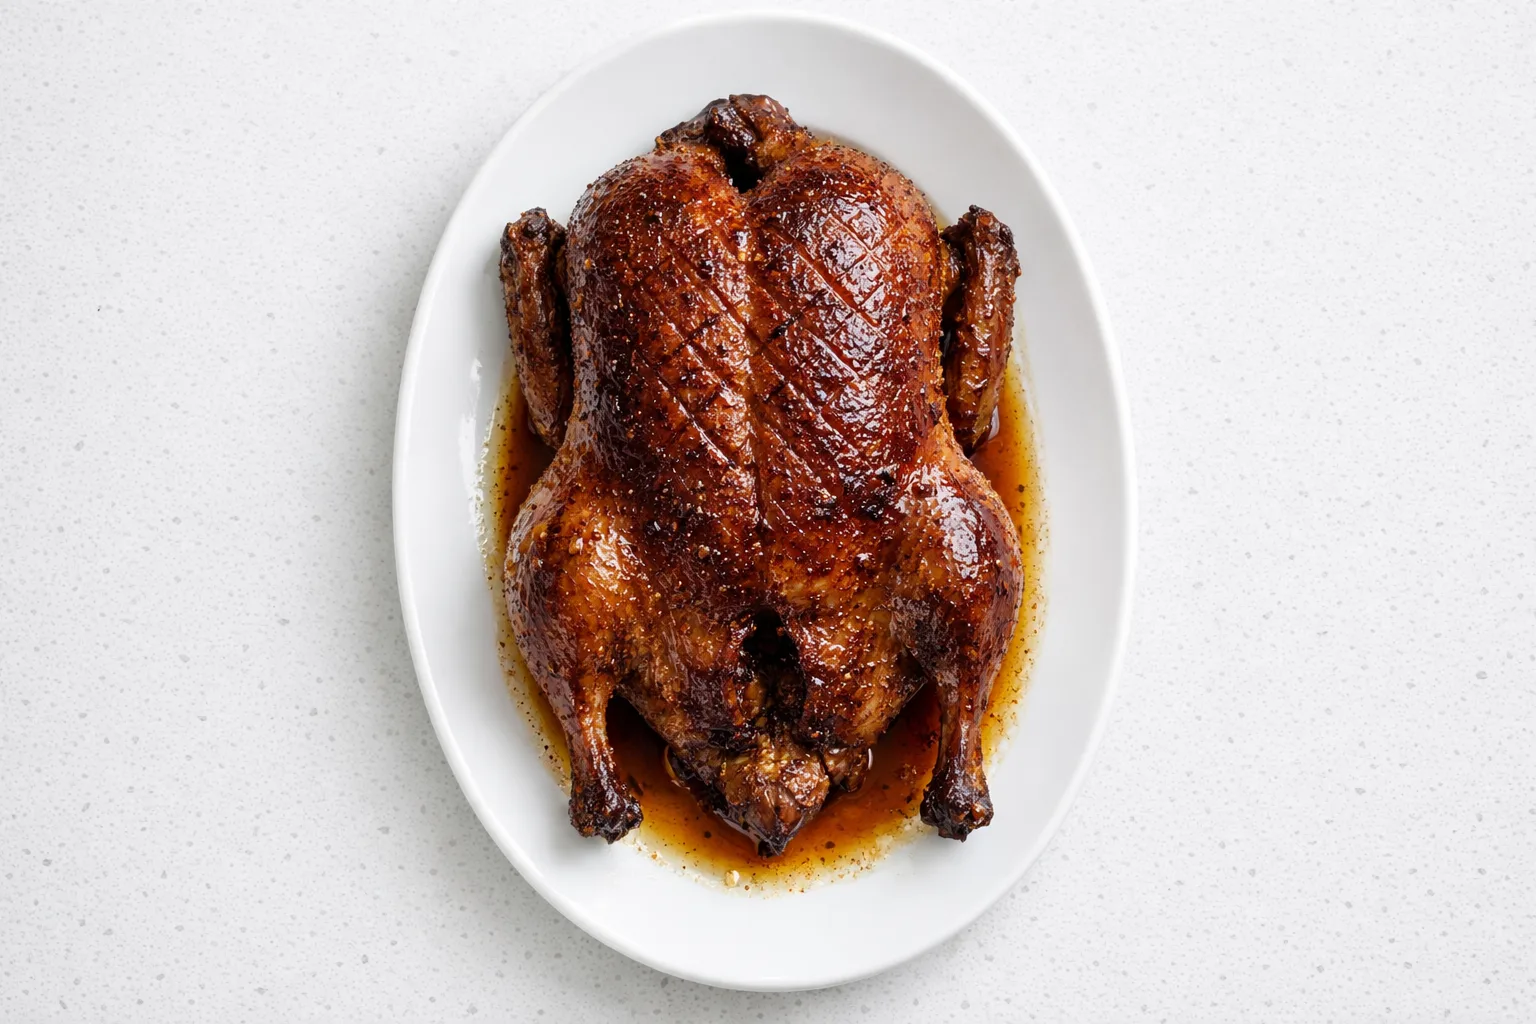
This recipe roasts a whole duck low and slow to render out the fat completely, then finishes at high heat for the final crackling. The result is mahogany skin that crisps under the knife and meat that stays juicy from the breastbone to the leg.
Equipment
Instructions
Tap each step to track your progress
- 1
Remove the duck from the refrigerator 1 hour before roasting. Pat the skin completely dry with paper towels, including inside the cavity. Moisture is the enemy of crispy skin, so be thorough.
- 2
Score the breast skin and the fat over the legs in a crosshatch pattern, cutting through the skin and fat but not into the meat. Use a sharp knife and make cuts about 3/4 inch apart. This allows the fat to escape during roasting rather than pooling under the skin.
- 3
Mix the salt, pepper, marjoram, caraway seeds, and paprika together. Rub this mixture all over the duck, inside and out, pressing it into the scored cuts. Place on a rack and refrigerate uncovered for at least 2 hours, or overnight if possible. Overnight air-drying makes the skin dramatically crispier.
- 4
Preheat your oven to 300 degrees F (150 degrees C). Stuff the cavity loosely with the apple quarters, onion wedges, garlic, thyme, and bay leaf. Do not pack it tight. Truss the duck loosely with kitchen twine, or simply tuck the wing tips under.
- 5
Place the duck breast-side DOWN on a rack set inside a roasting pan. Add the water or wine to the bottom of the pan. Roast at 300 degrees F for 1 hour. Starting breast-side down allows the thigh fat to render first and the breast fat to baste the meat from above.
- 6
After 1 hour, carefully drain any accumulated fat from the roasting pan into a heatproof bowl. Reserve the fat, it is excellent for roasting potatoes. Flip the duck breast-side UP. Return to the oven and roast for another 60 to 75 minutes at 300 degrees F, draining fat once more at the halfway point.
- 7
Check the internal temperature with an instant-read thermometer inserted into the thickest part of the thigh, not touching bone. You are aiming for 160 degrees F (71 degrees C) at this stage before the high-heat finish.
- 8
Increase the oven temperature to 425 degrees F (220 degrees C). Roast the duck for a final 15 to 20 minutes, watching closely, until the skin turns deep mahogany-brown and feels crisp and rigid when you press it lightly. The final internal temperature should read 165 to 170 degrees F (74 to 77 degrees C).
- 9
Transfer the duck to a cutting board and rest, loosely tented with foil, for 15 minutes. Do not skip the rest. Cutting immediately causes all the juices to run out onto the board.
- 10
Carve by removing the legs and thighs first, then slicing the breast off the carcass. Serve with the pan drippings (skimmed of fat) poured over the sliced meat.
Tips & Tricks
Air-dry the duck overnight
After rubbing with the spice mixture, leave the duck uncovered on a rack in the refrigerator overnight. The surface skin dries out completely, and dry skin crisps far more effectively than moist skin. This single step makes the biggest difference in the final result.
Score deeply enough
Many recipes say "score the skin" and people make shallow scratches that barely break through the surface. You need to cut through the full thickness of the fat layer into the skin, but stop before the meat. On a fat duck breast, that can be 1/4 inch deep. Feel the resistance as you cut: fat is soft, meat pushes back.
Save every drop of duck fat
Rendered duck fat is one of the best cooking fats you can have in your kitchen. Strain it through a fine-mesh sieve into a glass jar and refrigerate. Potatoes roasted in duck fat are genuinely in a different category from those cooked in oil.
Rest longer than you think necessary
Fifteen minutes is the minimum rest for a whole bird. Twenty minutes is better. A duck that has rested properly will lose very little juice when carved; one cut too early will flood your cutting board and the meat will be noticeably drier on the plate.
Use a thermometer, not timing
Duck size varies enough that time estimates are unreliable. A 4.5 lb duck roasts differently from a 5.5 lb duck, and oven calibration varies. Buy an instant-read thermometer and use it. The thigh joint, not the breast, is where you need to check: it is the last part to cook through.
Troubleshooting
The skin is flabby, not crispy
The fat did not render out sufficiently before the high-heat finish, or the skin had surface moisture going in. Next time, dry the duck thoroughly and air-dry uncovered in the refrigerator overnight. During roasting, drain the pan fat every 45 minutes. If the skin is still soft after the high-heat blast, remove the duck from the pan and place it directly on the top oven rack for 5 minutes under the broiler, watching every 30 seconds.
The breast meat is dry
The breast cooked faster than the legs, usually because the duck was started breast-side up the entire time. Starting breast-down and finishing breast-up corrects this. Also ensure you are pulling the duck before the breast hits 170 degrees F: at that point, carryover cooking during the rest will bring it to 175 degrees F or above, which is overdone.
There is too much smoke in my oven
Duck fat at high heat produces smoke, especially if the pan has accumulated fat burning on the bottom. Drain the pan before the high-heat finish and add a splash of fresh water or wine to the pan bottom. A roasting rack is not optional for duck.
The duck tastes gamey
Older or larger ducks have more pronounced flavor. Rinsing the cavity thoroughly, adding the apple and onion aromatics, and using marjoram and caraway (traditional for a reason) all moderate this. Avoid cooking duck well past 170 degrees F in the thigh, as overcooked duck fat turns acrid.
The juices run pink but the temperature is correct
Duck, like lamb, can appear pink at safe internal temperatures. A thigh reading of 165 degrees F is food-safe even if the juices are lightly tinged. Dark poultry meat is different from chicken breast. If the thermometer reads correct, the duck is done.
Variations
Honey and Orange Glaze
For a lacquered skin, mix 2 tablespoons honey, 1 tablespoon soy sauce, and the zest and juice of 1 orange. Brush this over the duck after the second fat drain, during the final 30 minutes of slow roasting, then again just before the high-heat blast. The sugars caramelize into a glossy, deeply browned coat. Watch carefully during the high-heat finish as the honey can burn quickly.
Czech-Style with Bread Dumplings
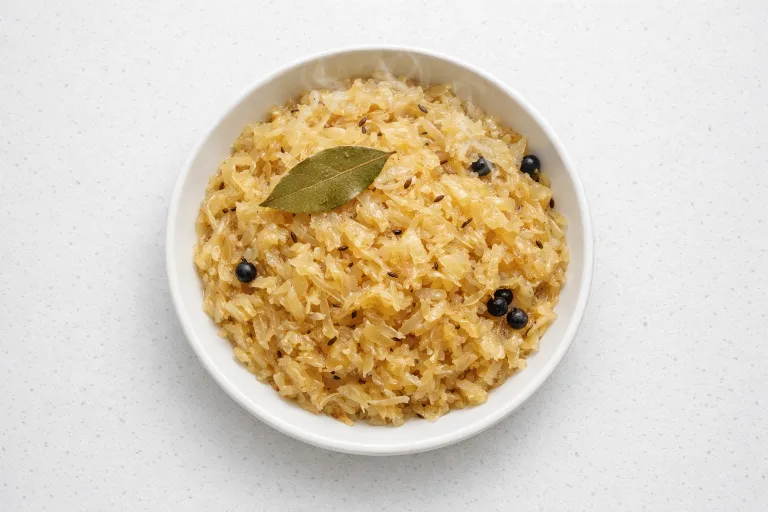
This is the classic Czech Christmas preparation. Add a pinch of dried savory and a little more caraway to the rub, and rest the duck on a bed of sliced onions in the pan rather than a rack. The onions become deeply caramelized in the duck fat and can be blended with the pan juices into a rich gravy. Serve with bread dumplings (<em>knedliky</em>) and braised red cabbage.
Slow-Roasted Overnight (Lower Effort)
Rub and refrigerate the duck the day before. Roast at 250 degrees F (120 degrees C) for 3.5 to 4 hours, draining fat twice, then finish at 450 degrees F (230 degrees C) for 15 minutes. The longer, cooler roast renders even more fat and produces meat that falls off the bone. Better for relaxed Christmas cooking schedules.
Dairy-Free and Gluten-Free
This recipe is naturally dairy-free and gluten-free as written. Verify that your paprika and marjoram are from single-ingredient sources with no added starch fillers, which is relevant for celiac or severe gluten sensitivity.
Serving & Gifting
Carve the duck at the table for visual impact, or slice in the kitchen and arrange on a warm platter with the legs alongside the breast slices. Classic Central European accompaniments are braised red cabbage with apple and caraway, bread dumplings or potato dumplings, and a simple gravy from the defatted pan juices. For a lighter take, roasted root vegetables cooked in the reserved duck fat pair naturally. Pour a medium-bodied red wine such as Pinot Noir or a Czech Frankovka alongside.
Storage & Freezing
Leftover duck meat keeps refrigerated in an airtight container for up to 3 days. The reserved duck fat keeps refrigerated for up to 2 weeks or frozen for 6 months and is excellent for frying and roasting potatoes. The carcass makes an exceptional stock: simmer with onion, carrot, and bay leaf for 2 hours. Cooked duck does not reheat well in the oven without drying out; warm sliced meat gently in the pan with a splash of stock or the defatted roasting juices instead.
Common Questions
How long does it take to roast a whole duck?
A 4.5 to 5.5 lb (2 to 2.5 kg) duck takes approximately 2 to 2.5 hours total using this low-and-slow-then-high method. The longer initial roast at 300 degrees F renders the fat; the final 15 to 20 minutes at 425 degrees F crisps the skin. Always verify with a thermometer: 165 to 170 degrees F in the thigh.
What temperature should duck be roasted at?
This recipe uses two temperatures: 300 degrees F (150 degrees C) for the long fat-rendering stage, then 425 degrees F (220 degrees C) for the final skin-crisping. A single temperature approach (around 375 degrees F) works but tends to produce less crispy skin because the fat does not fully render before the high heat sets the skin.
Can I make Christmas roast duck ahead of time?
You can fully roast the duck up to 2 hours ahead and rest it at room temperature, loosely covered. To serve, blast it in a 450 degrees F oven for 8 to 10 minutes to re-crisp the skin and reheat. Do not try to reheat fully chilled roast duck in the oven: it dries out. Make-ahead works best on the day of serving.
Is roast duck better than turkey for Christmas?
For smaller gatherings of 4 to 6 people, duck is a better choice than turkey. It is more forgiving to cook (the fat prevents dryness), more flavorful, and does not require basting. The trade-off is that one duck serves 4 people, so you need multiple ducks for larger groups.
What should I serve with Christmas roast duck?
Braised red cabbage with apple is the classic European pairing, its acidity cutting through the rich fat. Bread dumplings or potato dumplings absorb the pan juices well. Roasted root vegetables (parsnips, carrots, turnips) cooked in the reserved duck fat are a natural side. Avoid cream-based sauces, the dish is already rich.
Can I roast a duck without a rack?
A rack is strongly recommended for duck because without it the bird sits in its own rendered fat and the bottom skin steams rather than crisps. If you have no rack, use a bed of thickly sliced onions and carrots to elevate the duck slightly. Drain the fat accumulation even more frequently.